
Portable Pump Setup and Deployment: Best Practices for Rural Departments
A portable pump is only as good as the crew that deploys it. Here is a field-tested checklist for setup, drafting, and hoselay design that keeps water flowing when it counts.
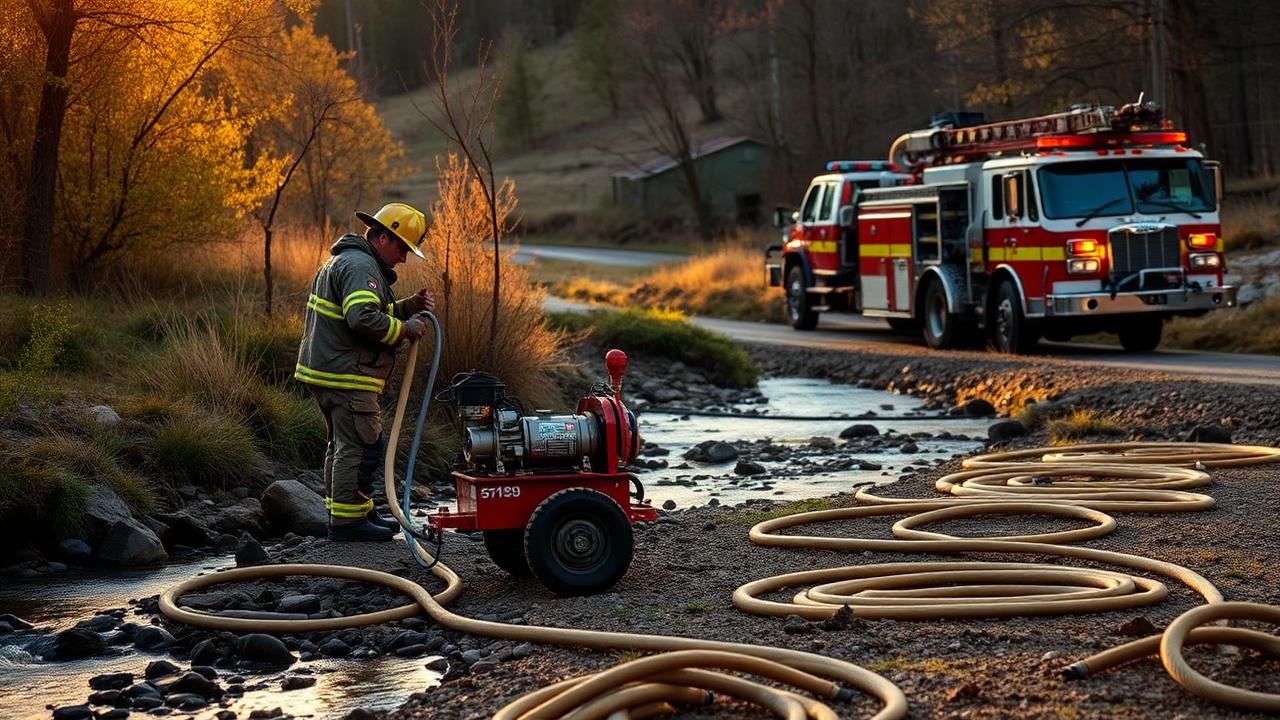
For every rural department, the portable pump is the single piece of equipment that expands the operational footprint the most. A pump, a length of hard suction, and access to a creek or pond turns a 200-gallon skid unit into an effectively unlimited water supply. Get it right and you can hold a flank all day. Get it wrong and you spend the shift wrestling equipment while the fire moves.
This article is a field-tested guide to setting up, drafting with, and deploying portable pumps in rural and wildland firefighting. It assumes you already have a pump in service and want to sharpen the operational side of that program.
Site Selection: The Most Important Decision You Make
Where you place the pump matters more than any single tactical decision after ignition. A well-placed pump runs unattended for hours. A badly placed pump becomes a full-time job.
Look for four things in a good pump site.
Reliable water depth
You need enough water to submerge the strainer with several inches of clearance. Six inches is a bare minimum in still water; more in moving water where the strainer will pull surface debris. Beware of sites that look adequate on arrival but drop overnight or under sustained draft. Beavers, agricultural withdrawals, and diurnal flow changes can all catch you off guard.
Low lift and short suction runs
The lower the pump sits relative to the water surface, the more of its rated capacity you actually get. Every foot of vertical lift and every additional foot of suction hose costs you flow. Keep total lift under 10 feet for practical purposes and suction runs under 20 feet where possible.
Firm, level footing
A pump that vibrates itself into the mud is a pump that will suck air, cavitate, and shut down. Set the pump on rock, gravel, wood, or a purpose-built pump plate. Level matters both for the pump and for the crew that has to service it.
Safe approach for hose changes and refueling
Every pump needs fuel eventually. Every hoselay needs adjustment. If the approach to the pump is a scramble down a rock face, service intervals get skipped and problems compound.
The Setup Sequence
A disciplined setup sequence eliminates most of the small mistakes that lead to nuisance shutdowns.
1. Position the pump and set it firmly. Chock the wheels if it has them.
2. Attach the hard suction with the strainer already in place. Never assemble a suction line in the water.
3. Set the strainer at least six inches below the surface and at least four inches off the bottom. A strainer cage or float keeps it in the right place.
4. Attach the discharge line and any wye or manifold at the pump before you charge the line.
5. Prime the pump per manufacturer instructions. On centrifugal pumps this means running the primer until you see solid water at the discharge.
6. Bring the pump up to operating RPM and check for air leaks at every suction fitting. A soap-and-water wipe will find them.
7. Open the discharge slowly. Charge the hose lay one section at a time if you can.
This entire sequence should take three to five minutes with a trained two-person crew.
Drafting Fundamentals
Drafting — pulling water from a static source rather than being supplied under pressure — is the core skill for portable pump operations. It is also where most operational failures happen.
The theoretical maximum lift for any pump at sea level is 33.9 feet. In the field, the practical limit is closer to 20 to 22 feet for a good pump in good condition on a cool day. Every additional 1,000 feet of elevation costs roughly a foot of lift. Warm water costs another foot or two. A pump specced for 20 feet of lift at sea level on a 60-degree day may only pull 12 feet on a hot afternoon at 6,000 feet.
Two practical implications:
- Site your pump as close to the water and as low as possible.
- If a pump will not prime, the first suspect is an air leak in the suction line, not a bad pump.
The most common air leak sources are the strainer connection, any threaded coupling, and the pump packing. Check them in that order.
Hoselay Design
How you lay hose downstream of the pump determines what tactics are available to the nozzle team. A few principles apply universally.
Match hose diameter to the job
Small-diameter hose (three-quarter-inch and one-inch) is light and portable but has significant friction loss. It belongs on the last 100 to 200 feet of a hoselay, at the nozzle team. Medium-diameter hose (1.5-inch) is the workhorse for anything more than a short lay. Large-diameter hose (2.5-inch and larger) is for supply lines over long distances or when you need real gallonage at the nozzle.
Design for friction loss, not distance
The rule of thumb for 1.5-inch hose at 60 gpm is roughly 10 psi of friction loss per 100 feet. At 100 gpm, that jumps to about 25 psi per 100 feet. At long distances, that math dictates whether the nozzle team gets useful pressure or a dribble. Compute your friction loss budget before you lay hose, not after.
Use progressive hoselays
A progressive hoselay uses a series of wyes or manifolds along the main line so that additional lateral lines can be added as the crew advances. A single manifold with three or four gated outlets — like the Solid Foam Stick Manifold — dramatically simplifies this and lets a single pump support multiple hand lines from a single supply lay.
Anticipate the retreat
Every hoselay should be planned with the retreat in mind. Under what conditions do you shut down and pull hose? Where do you shut down first? How do you get the pump out if the fire moves? These questions have to be answered before the first section of hose leaves the truck.
Fuel, Oil, and the Boring Details That Kill Pumps
A two-stroke portable pump running at full RPM will burn a tank of fuel in an hour to ninety minutes. A four-stroke pump does better but still needs regular attention.
Practical guidance:
- Fuel the pump on a schedule, not when it runs out. A pump that quits under load can lose prime and cost you fifteen minutes to restore.
- Bring twice the fuel you think you need. Ambient temperature and altitude cost you fuel efficiency in ways that are hard to predict.
- Check oil and cooling water at every fuel stop.
- Keep the spark plug, air filter, and starter cord in the tool kit. If you have never changed one in the dark with a headlamp, practice.
Common Failures and Their Fixes
In roughly rank order, the failures that shut down portable pumps in the field are: air leaks in the suction line, strainer plugging, running out of fuel, overheating, and loss of prime after a nozzle shutdown.
Each has a straightforward preventive.
- Air leaks: tighten every fitting during setup and check with the pump running.
- Strainer plugging: use a proper strainer cage, position the strainer off the bottom, and check it every hour in dirty water.
- Fuel: schedule.
- Overheating: verify cooling water flow at startup and again after any nozzle shutdown.
- Loss of prime: use a check valve on the pump discharge, or bleed the discharge slowly rather than shutting down under pressure.
Training and After-Action
Portable pump proficiency is perishable. Departments that run a pump program without regular hands-on training find that only two or three members are truly comfortable with the equipment, and those members inevitably are not on the truck the day it matters.
Minimum training standard we recommend:
- Every operational member sets up, primes, and operates the pump at least twice a year.
- Every setup drill includes at least one intentional problem — a plugged strainer, a loose fitting, a fuel-run-out — that the crew must diagnose and fix.
- Every real incident generates a short written after-action note covering what worked, what did not, and what should be changed in the SOG.
The departments that do this well are also the departments that pull off the impressive holds on wind events. It is not luck. It is reps.
Integrating Foam Into Portable Pump Operations
If your pump program includes Class A foam — and for most rural departments it should — the design of the foam system matters as much as the pump itself. A discharge-side manifold like the Solid Foam Stick Manifold plays cleanly with portable pump operations for two reasons.
First, there is no interaction with the pump. The pump does what it always does; the manifold sits downstream and adds foam capability without changing pump behavior.
Second, there is no cross-contamination risk. A pump drafting from a static water source is drafting into the same tank on the truck. An intake-side foam system creates a plumbing path from foam concentrate back into that tank. A discharge-side manifold eliminates that path.
The operational result is a system that is both simpler to run and safer to leave unattended when the crew is at the nozzle.
Closing
Portable pump operations reward attention to boring details: site selection, tight suction fittings, fuel discipline, and repeatable setup drills. None of it is glamorous. All of it is the difference between a pump that runs all day and a pump that becomes a distraction.
Every rural department can build a portable pump program that punches above its weight. It starts with treating the pump as a piece of primary firefighting equipment — and training on it like one.
Ready to see the numbers?
Run our interactive ROI calculator with your own inputs.